


How to build with Rapidwall
Foundation Preparation
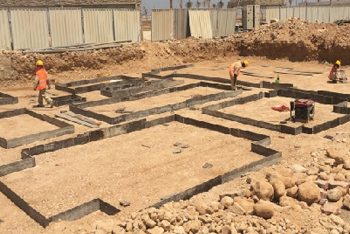
PCC and footing strip
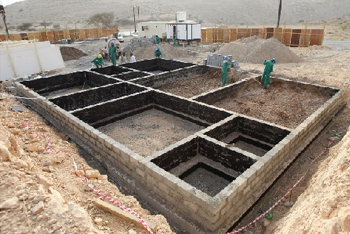
Solid block work
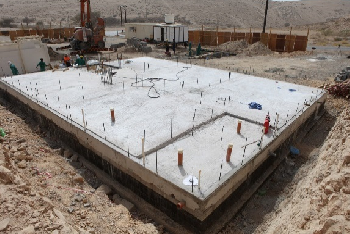
Grade slab
Starter bar with MEP conduits
RAPIDWALL TRANSPORTATION & HANDLING

Transportation with stillages
Rapidwall transportation by container
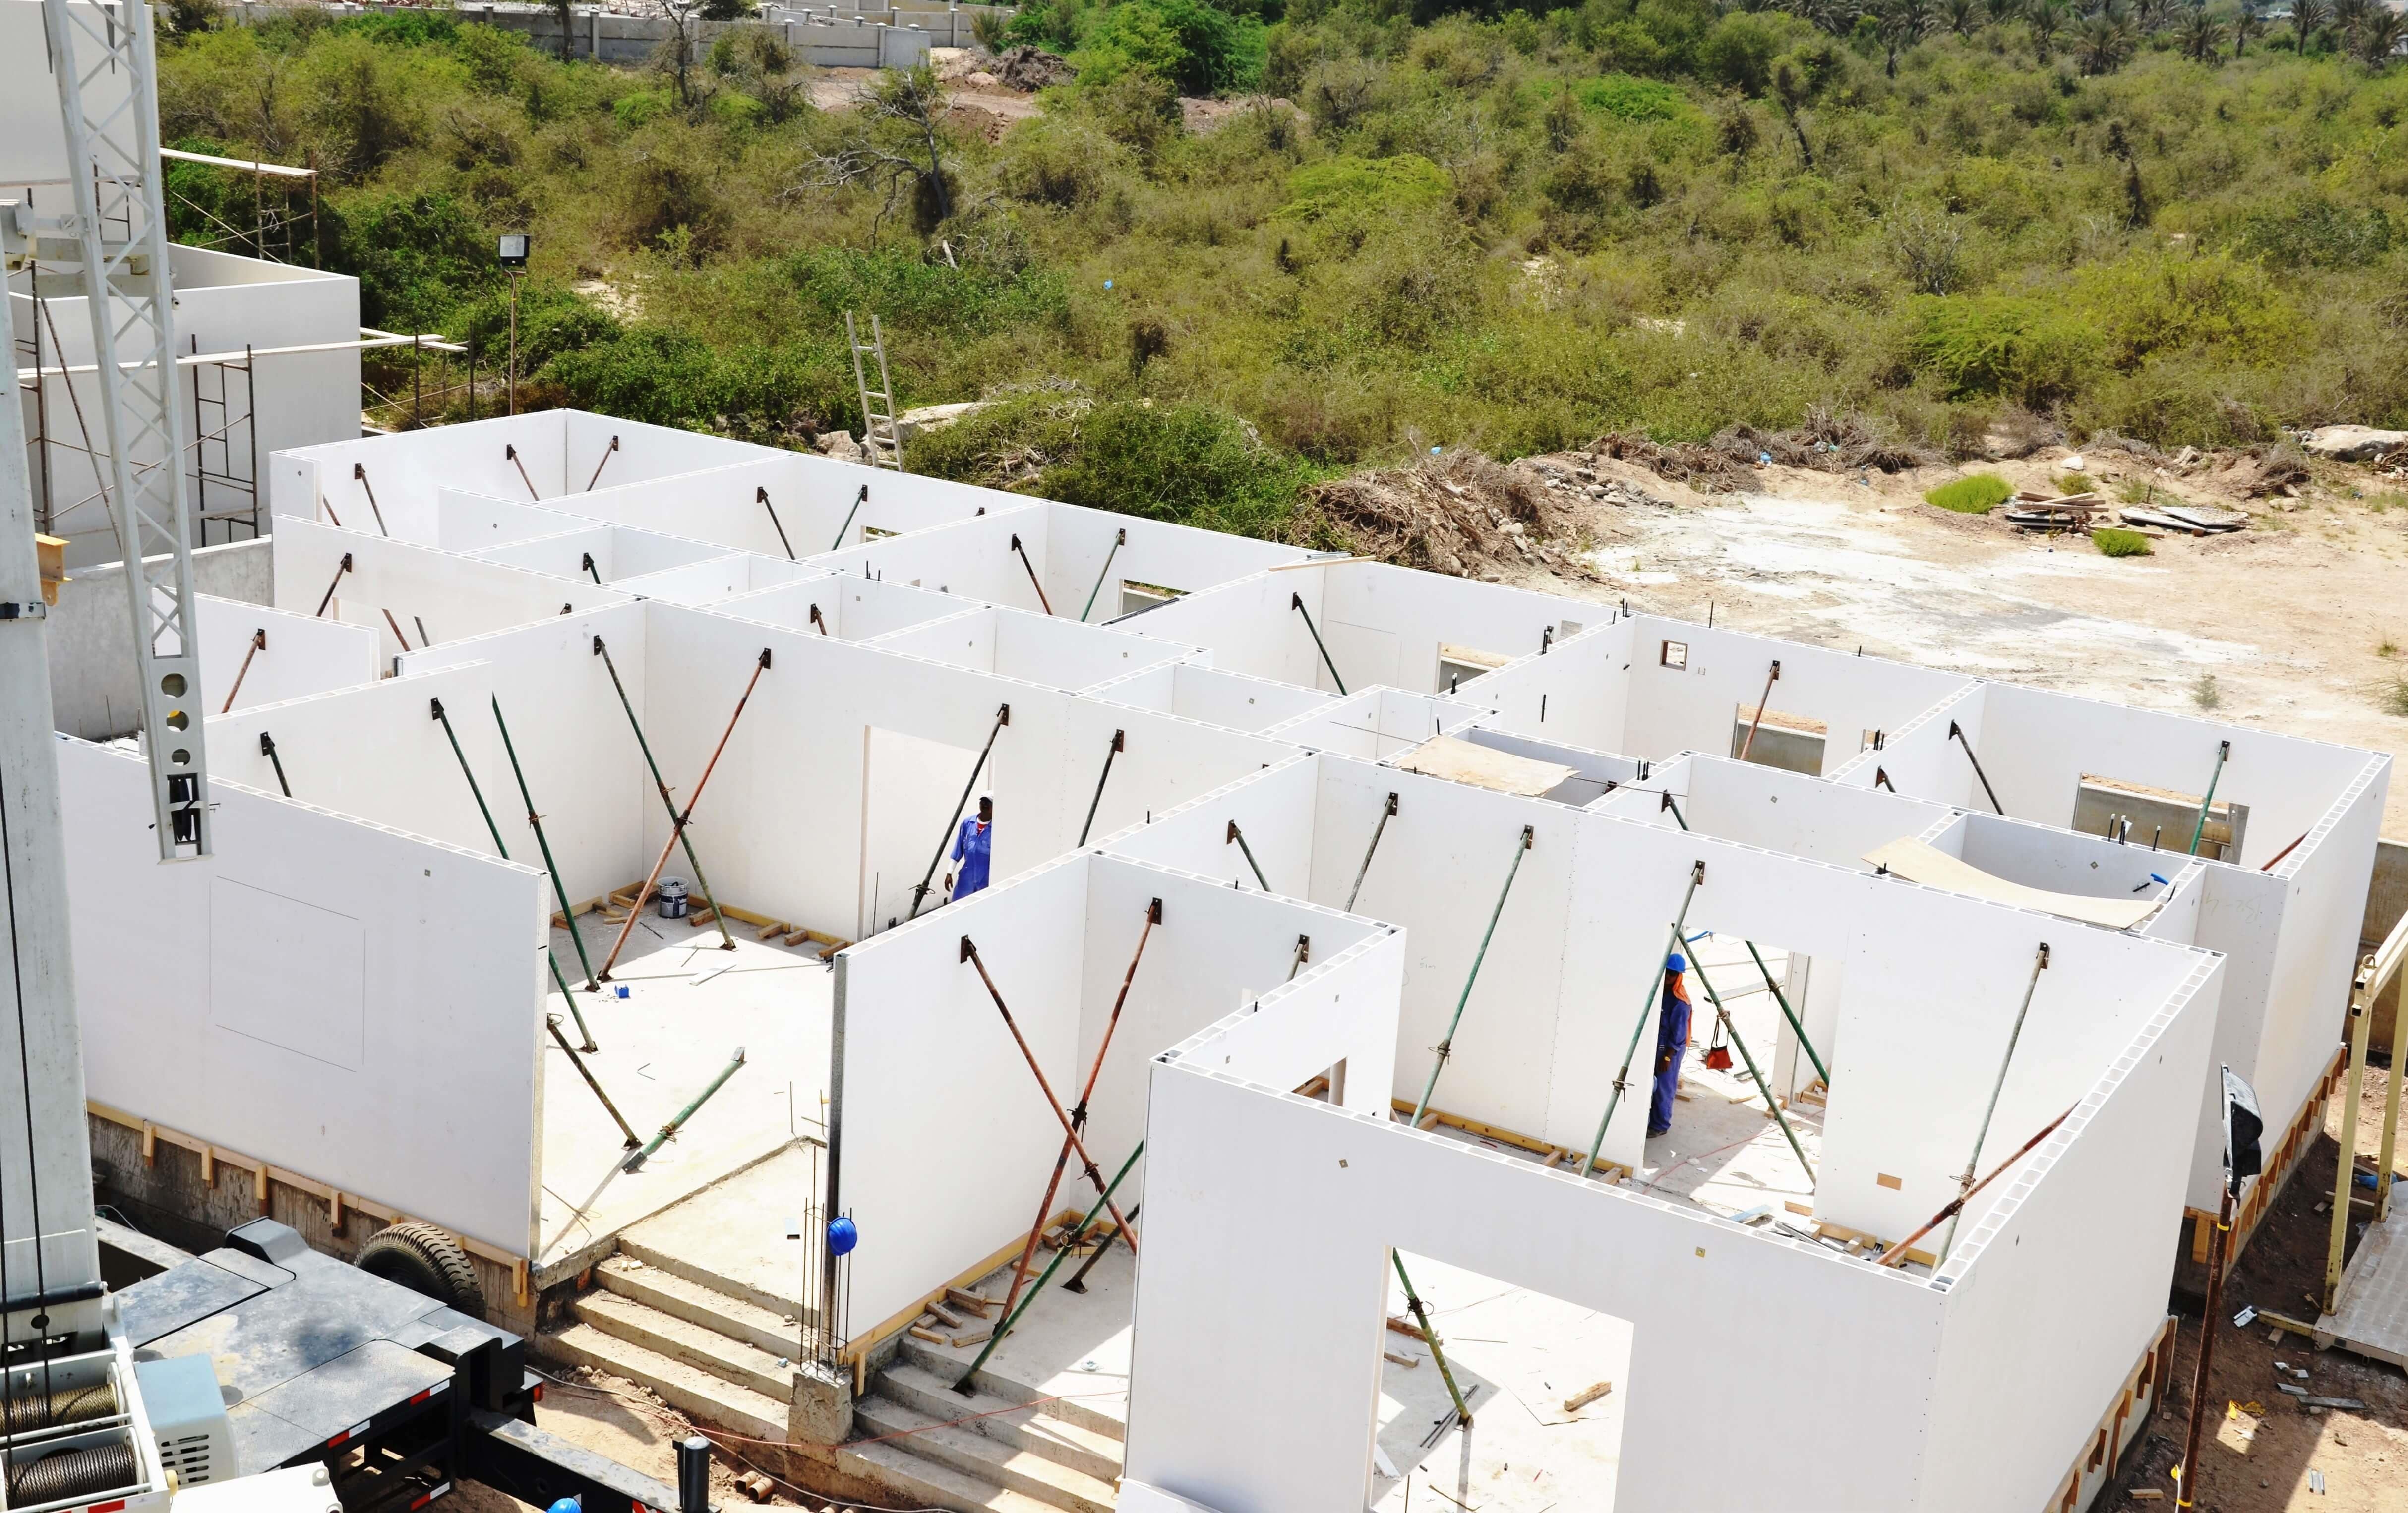
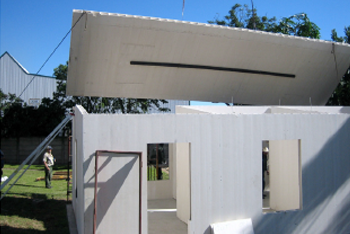
INSTALLATION
Lowering Panel
Rapidwall installation with props
Panel placement with props

Rapidwall panel installation complete
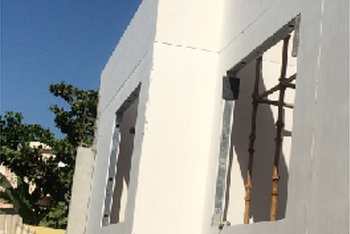
OPENINGS
Opening preparation
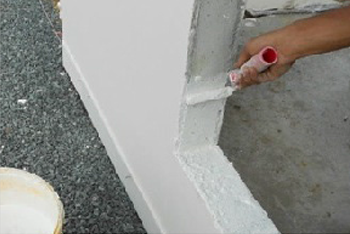
Water proofing
SERVICES
Provision for MEP lines
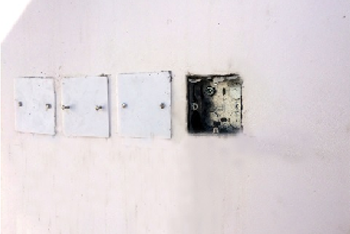
GI back box fixing
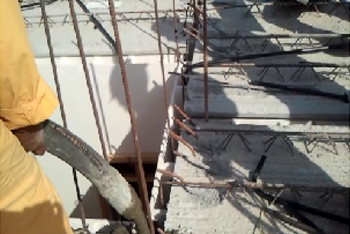
CONCRETE FILL
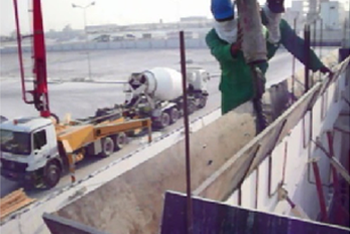
Filling with side guides
Wall filling after slab installation
RAPIDFLOOR INSTALLATION
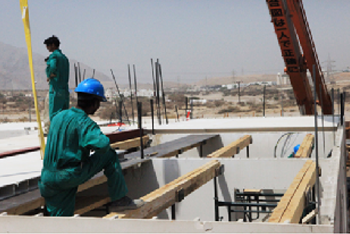
Rapidfloor support Installation
Rapidfloor Installation

Rapidfloor installation complete
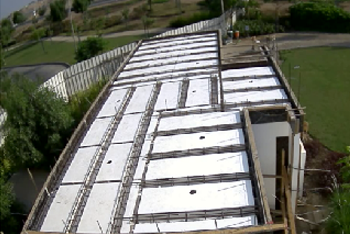
Micro beam placing
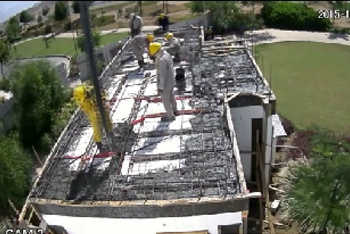
Slab concreting
Finishing Panels and Joints
Vertical & Horizontal joints
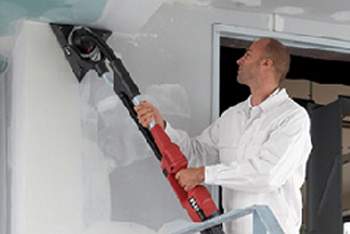
Sanding Rapidwall panels
Corner fixing
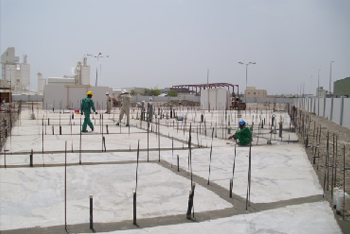
A. Foundation Preparation
- Complete the substructure as per the drawings. The typical foundation type consists of light strip footing/isolated footing followed by solid blockwork plinth wall. Finally concrete plinth beam and concrete slab-on-grade.
- Based on construction drawings the contractor should lay the floor slab to the exact dimensions and ensure the slab is in level. Starter bar as per Rapidwall drawings need to be provided in plinth beam.
- Checking the accuracy of the slab and rebate a few days prior to installation will provide sufficient time for any remedial action to be taken. Any level inaccuracies in the level of the slab and rebates can cause installation difficulties
- Any high or low spots should be marked so the builder can correct the slab heights with appropriate packing material. Panels must always be installed from the highest point and the lower points packed with appropriate packing material
- Reinforcement bars can either be installed during the pouring of the slab or later, holes drilled in the slab after it has cured. In the latter case the bars are inserted into holes and secured with epoxy grout available for reinforcement bars. The Engineering drawings will specify where Reinforcement are required for exterior and interior walls
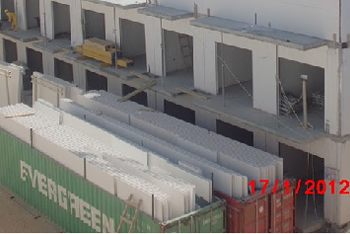
B. RAPIDWALL TRANSPORTATION & HANDLING
- Rapidwall panels are vertically loaded and can be transported on purpose built stillages or in open top shipping containers ready to be picked up by the appropriate transport vehicle
- Stillages and panels can be lifted using forklifts or cranes. Each truck an average of 350 sq.m Rapidwall can be transported in stillages or 450 m² in open top container
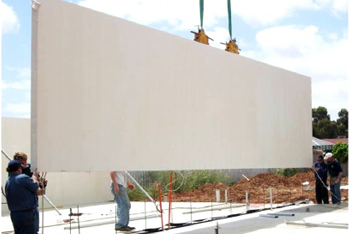
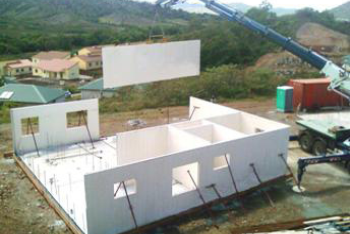
C. INSTALLATION
- Using the Architectural layout drawings the erection crew marks out the wall positions in reference to these grid lines.
- Holes are drilled in the concrete foundation, starter bars inserted and waterproof membrane applied.
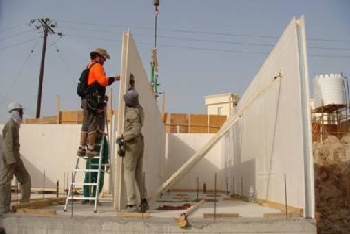
- Pre-cut Rapidwall panels are lifted by crane onto the prepared concrete floor or foundation. Panels are temporally supported by using props, which are removed after cavity concerting
- Plumbing and electrical services are installed in the cavities and if required, concrete is poured or insulation inserted into the cavities.
- Post construction the Rapidwall panels are finished in a conventional manner.
- Externally renders or decorative facings can be added, whereas internally the panels are usually flushed and finished ready for primers and paint.
- Once panels are complete all remaining doors and windows can be cut out.
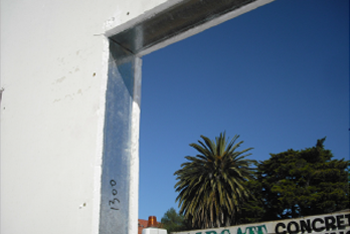
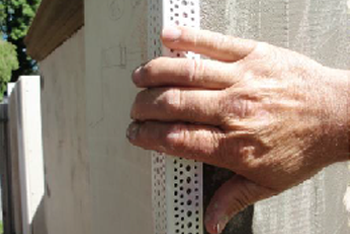
D. OPENINGS
- In most cases openings will be cut in the factory by either plunge cut or completely removing the openings. If not, they can be cut on-site.
- Metal studs are the preferred cavity closing device.
- All external and wet areas require the studs to fit tightly within the cavity and with minimum gaps to avoid leaking when filling cavity with concrete.
- Ensure that the edges of the Rapidwall panel, screws and studs are covered by the membrane to provide a watertight seal.
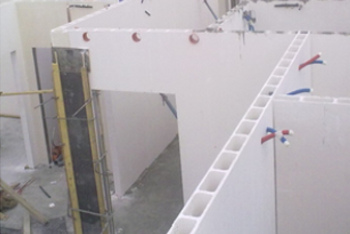
E. SERVICES
- Installing plumbing, electrical and other cable services throughout the building is very similar to current building practice.
- Install after the panels have been erected into final positions and prior to filling cavities.
- Fixing of skirting boards, handrails, basins and the like to Rapidwall is similar to fixing to other types of materials. Many brands and fastener types can be used by following the manufacturer’s recommendations and instructions for installation and allowable loading capabilities.
- Ensure that the edges of the Rapidwall panel, screws and studs are covered by the membrane to provide a watertight seal.
F. CONCRETE FILL
- Once all MEP in place and Rapidwall bottom side are arrested by proper support, concrete fill can be done.
- Rapidwall panel cavities are filled in three stages to avoid excessive hydrostatic pressure from concrete.
- Rapidwall filling of selected cavities or all cavities depends on structural design.
- Concrete mix design & slump to be strictly followed as per manufacturer’s recommendations.
G. RAPIDFLOOR INSTALLATION
- A Rapidfloor can be used on any standard suspended poured concrete floor when used with concrete filled Rapidwall
- Panel positions needs to be designed so that all floor panel cavities line up with each other as they are used to form micro-beams that are the size of 1 cavity
- Depending on the floor span the structural engineers decide on tie in with the walls, spacing and height of the micro beams
- Check that floor props to be used have the correct loadings and are in good working order
- Using Rapidfloor setting out drawings, mark position of Rapidfloor on adjacent walls, floor slab below and permanent working platforms
- Lift and position Rapidfloor panels with the help of spreader bar used as additional support to distribute the weight of the panel over a wider area
- Once in position install props and shoring in the correct locations and tighten, ensure panel is level and in the correct position
- Once Rapidfloor panels are in position and all checks completed the mini beams can be formed.
- MEP service are passed in the slab as necessary
- Concrete pouring a Rapidfloor is no different to pouring a conventional slab.
H. Finishing Panels and Joints
- Rapidwall is manufactured from glass reinforced plaster; finishing and repair work is similar to working with plasterboard, the same tools can be used.
- Surface preparation is critical. Clean and dry Rapidwall panel.
- The better the joint or repair, the less sanding required. Wait until the base/patching coat has completely dried before sanding.
- Apply an approved primer sealer in accordance with the manufacturer’s recommendations. This is critical to ensure a proper bond between the panel and patching compounds, cornices or reveals.
- Rapidwall construction has butt joint, movement joint, internal and external corners as with traditional construction. All joints to be finished flush.